


01 Jul Sayre School, 1997-1998
Over 15 years ago, CRA began its archaeological investigation at Waterwild Farm, which also served as an education program for students from Sayre School in Lexington, Kentucky. The first year of the investigations at Waterwild began with the preparation of a Teacher’s Guide, which included a discussion on how yard testing is conducted, what students might expect to find, how yards change over time and why, and idealized layouts of various farmsteads over time. It discusses grid patterns and how they are set up and why, test units, stratigraphy, screening, information to be included on artifact bags, record keeping, and finishing a hole (carefully putting the dirt and grass back). This type of preparation enhanced the students’ understanding of the process they were participating in, and increased their enjoyment of the entire experience.
Fieldwork
The fieldwork for the 1997-1998 Waterwild Project was divided into five parts: yard testing, washing and identifying the artifacts, student analysis of the artifacts, group discussion of the findings and possible future research. Research questions involved determining the spatial layout of the farm, including the presence and location of old buildings, such as a detached kitchen, smokehouse, chicken coup and outhouse, and determining the age of the farmstead and the associated structures. Shovel tests were excavated by the supervised students during one day of fieldwork.
Methods
The methodology addressed the spatial layout of the farm and included the use of shovel tests to search for and recover artifacts indicative of structures. Computers were used to quantify and depict patterning in the recovered artifacts, to be compared to the artifact patterning of magnetometer readings conducted by Dr. Berle Clay. Students would help establish the age of the site through analysis of the recovered artifacts.
Before the students arrived on the site, Dr. Berle Clay conducted a survey with an EM38 earth conductivity meter. A survey grid was laid out over 2,320 square meters and 6,379 readings were taken of the front, side and back yards. Using this same grid, each of the positions of future shovel tests were flagged and marked with northing and easting coordinates. Bags were left at each position, with provenience information. Finally, CRA employees excavated each shovel probe due to time constraints and the physical capability of the students. In the front and side yards, the test probes were placed every 10 meters since artifact density expectations were low, and every 5 meters in the back yard where we expected to find most of the material. The original plan was to assign each of the three areas to a class with an archaeologist in each area. Each class was divided into four task groups, who would work together as a team with a parent or teacher as their immediate supervisor. Each team was assigned a row, so they could be kept fairly close together, making supervision easier. Their assignment was to screen the excavated soil media for artifacts, measure the test probe, take appropriate notes on their site provenience form, and fill the hole. When the students arrived on the site, they were given a brief orientation with a review of the archaeological terms they learned, and a description of their assignments. They then proceeded to their assigned areas with their supervisors.
Recovering Artifacts
Artifact density at the side yard or garden area was low, yielding only small amount of lithic flake debris and some recent historic material. The front yard yielded the majority of the prehistoric artifacts recovered, including a couple of projectile points. Experienced archaeologists realize that low artifact density is not an unusual occurrence, but the 4th graders assigned to the front and side yards were somewhat disappointed in the meager yield. But this, too, was an important lesson, which was discussed with the students – the low density of artifacts in the front yard simply indicated the area wasn’t used for activities. As expected, the students assigned to the back yard were finding high densities of the material. All of the shovel test probes from the back of the house yielded artifacts, and the students assigned to this area were kept busy screening and taking notes. Eventually, the students originally assigned to the front and side yards were reassigned to the backyard to assist the students there.
Before the day was over, small groups were taken on a more extensive tour of the site, including the springhouse and its use, brick making, and the construction of the house itself. The students were also shown how to use the transit in mapping the site. At the end of the day the supervisors and students gathered in a large group and the students discussed their results, talking about both the prehistoric and historic occupations of the site. One student from each group discussed the results of the fieldwork in each of the three areas. The kids were then encouraged to think about the next step in the research – where would they continue to look for structures and outbuildings.
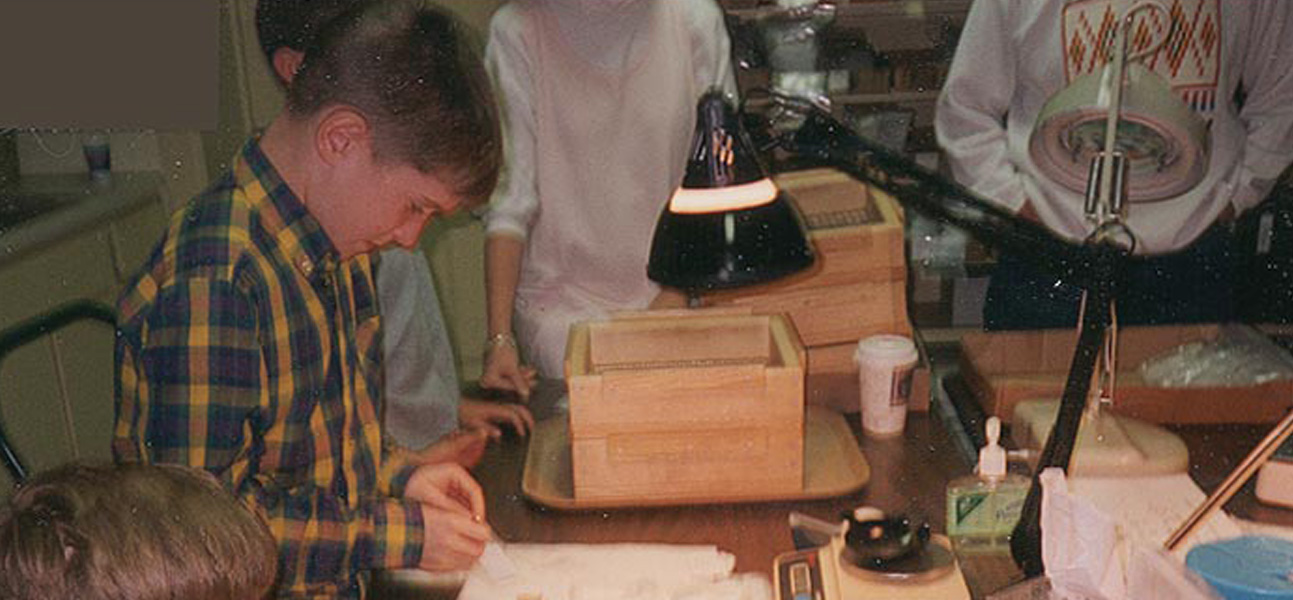
Analyzing the Artifacts
The next educational step was to wash and analyze the artifacts back at the school. The students were asked to bring an old toothbrush, plastic tub or bowl, a strainer and some cardboard beer or soda flats from home. CRA archaeologists explained the importance of keeping provenience data with the artifacts throughout the washing and drying. Next, the students analyzed the artifacts, counting and weighing prehistoric lithic artifacts, historic ceramic sherds, container glass and window glass shards, and nails. Students recorded the data on data forms provided by CRA employees. The students were also treated to a flint knapping and lithic analysis discussion by Andrew Bradbury. Finally, the students were ready to write a report of their findings and with the generation of the report, the survey portion of the project was complete.